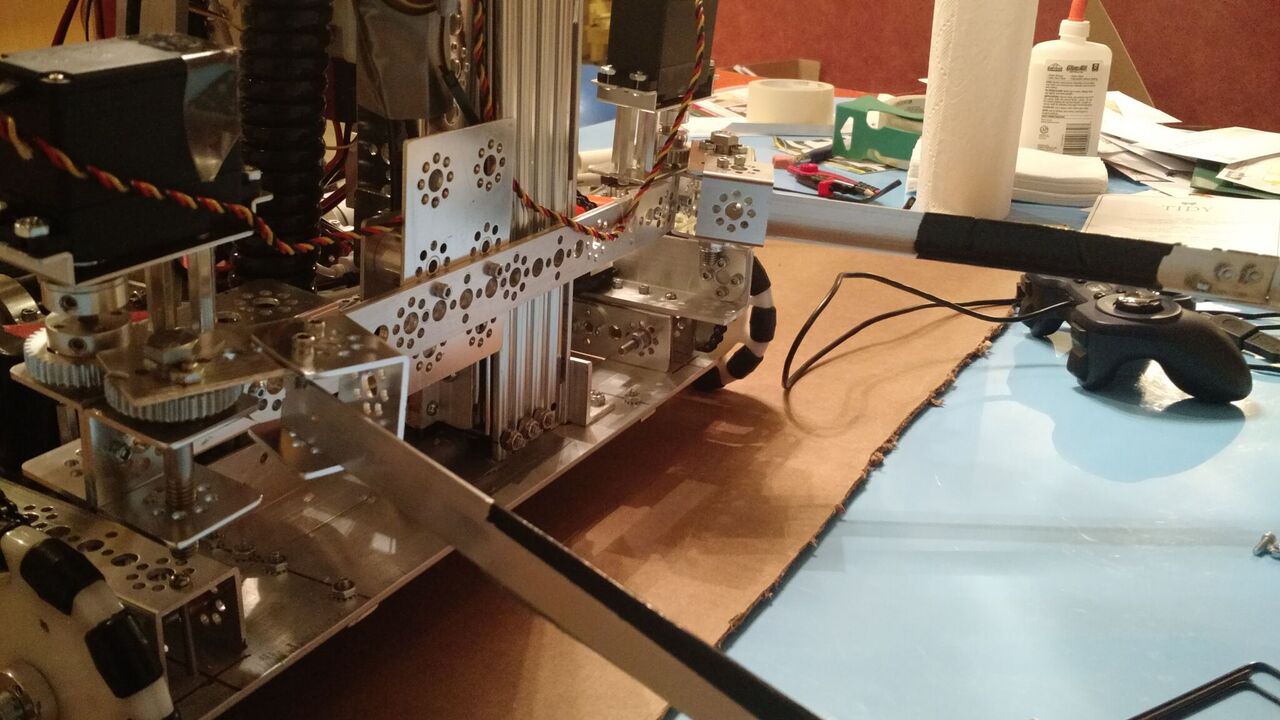
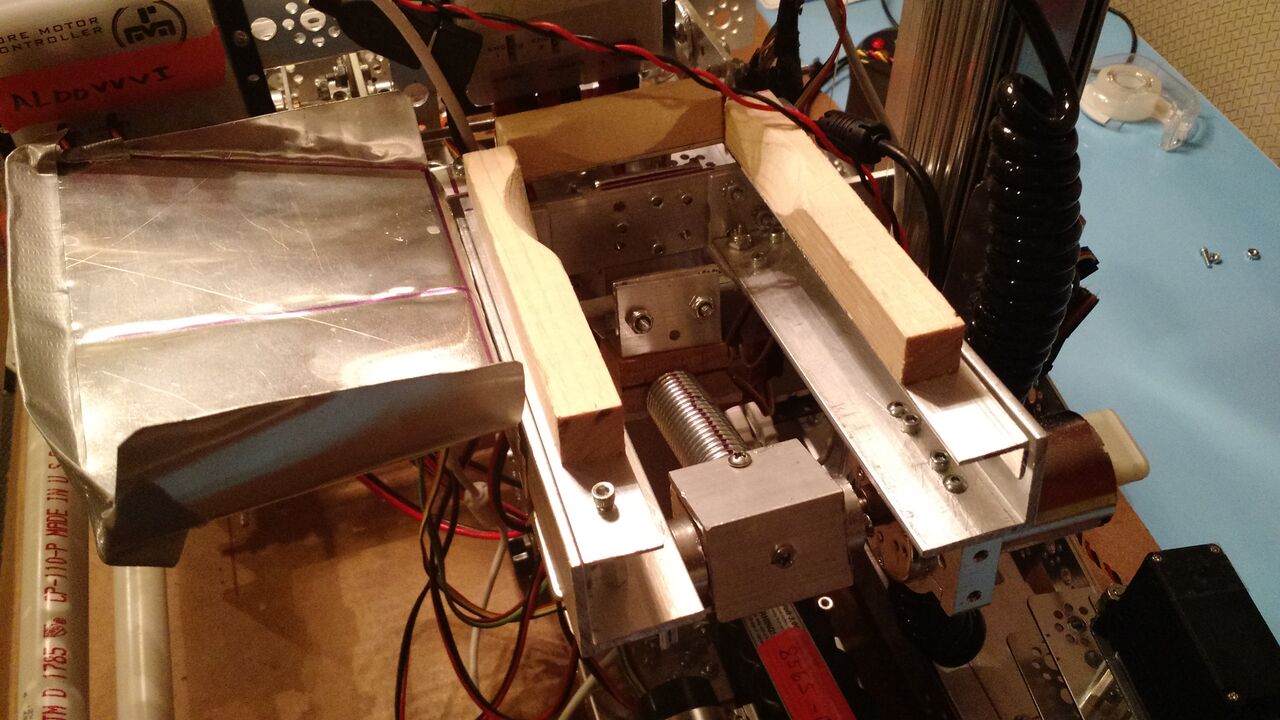
The new claw mechanism is able to grip the ball more tightly than the previous second version from basic testing. Additionally, it is within 18 inches. Here are multiple aspects of the current claw mechanism and why:
2 Flat beams instead of a channel to connect both servos
One of the main reasons for continuing to improve the first claw mechanism was that it was too fragile, and the gears would become unaligned under torque resulting in stressful and lengthy repairs. So the new claw versions used Tetrix’s special large servo mounts that align with Tetrix holes. Because of this, the gear attached to the servo will be directly aligned with a Tetrix hole that are always perfectly distanced with each other, resulting in extremely consistent and strong meshes. This contrasts the first claw version, where the large servos were attached onto a channel using custom pieces of wood. Although the gears were perfectly meshed, they could be easily moved apart under stress resulting in being unaligned. The use of Tetrix’s special large servo mounts solves this problem of the gears being unaligned, however it creates new problems with spacing, especially the positioning of the servos. In the first claw version, the servo’s body could be placed right behind the channel, meaning that there was little room taken above or below the channel by the servo. Since the claw mechanism requires that the claws be near the bottom of the cap ball, the mechanism itself has to be close to the bottom of the linear lift, meaning that there is not any room for the servos below the connection between the servos (channel or 2 flat beams). The use of Tetrix’s special large servo mounts require that the servo is above or below, and since the servo would be in contact with the side wheels in autonomous and other parts, the servos have to be above.
(Above discusses why the servos have to be above the connection between two servos)
The connection between the special large servo mount with the gear that it turns are exactly one large Tetrix hole apart. The gear directly attached to the servo is also exactly one large Tetrix hole apart from the gear that is connected to the actual claw. This results in a combination of 3 adjacent Tetrix holes, which means many possible patterns. Because of the thickness of the 4 linear lifts themselves, the 3 adjacent holes cannot be in a linear pattern because then the servo on the robot’s left side would be blocked by the top of a linear lift. The 3 adjacent holes also cannot be in a linear pattern that is parallel to the front and back of the robot because then the left servo would be in contact with the PDM. The forces the pattern to be in a L shape.
(Above discusses why 3 points in a L shape)
The strongest way to attach a claw onto a channel is to use a __/32 screw with a nylon nut. Since the screw itself is not used to transfer rotational motion, the gear and the claw have to be on the same side of the channel (a channel has to be used instead of a beam for its 2 parallel holes that make alignment).
The shooter is similar is to the first design, and takes up very little space. Additionally, it shoots to the right. In case this shooter is not working, the other shooter is being fitted with a different rubber band to create tension on the opposite side of the catapult. This new rubber belt is able to return to the original un-stretched position with less stress than the short regular rubber bands.


